Once you have unlocked the device’s bootloader, there are a plethora of tweaks waiting for a permanent abode onto your device. These include the likes of flashing custom ROMs, custom recoveries like TWRP or OrangeFox or gaining administrative access via Magisk. The latter is also known as rooting, which in turn will allow you to flash tons of mods. These include the likes of Magisk Modules, Xposed Framework, Viper4Android, Substratum Themes, etc. However, all these tweaks might prove to be quite risky. if you flash an incorrect mod or flash the correct mod to the incorrect partition, then things might go south. More often than not, a soft brick or bootloop device is on the cards. If things get worsened, then your device might even get hard-bricked. But on the fortunate side, all these issues could easily be rectified. And this guide shall help you with just that. Given here are the detailed steps to download, install and flash firmware using SP Flash Tool.
What is SP Flash Tool
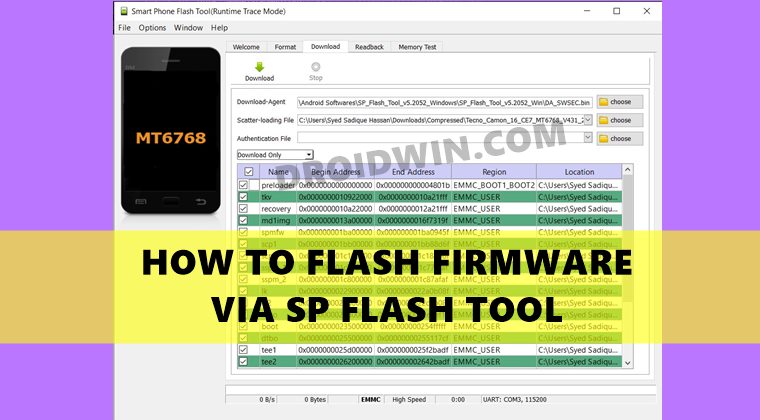
Smart Phone Flash Tool or more popularly known as SP Flash Tool is a one-stop tool for MediaTek devices. It comes baked in with a plethora of useful functionalities, here are some of the most important ones that deserve your attention:
Flash Stock ROM on MediaTek Devices
If you have yet to receive the OTA update, then you could manually flash the firmware file using this tool.
Fix Bootloop/Brick MediaTek Devices
If your device is bricked due to the flashing of incorrect custom binary, then you could easily unbrick it using SP Flash Tool. [READ: How to Unbrick any MediaTek Phone using SP Flash Tool].
Install TWRP on MediaTek Devices
You could also install a custom recovery like TWRP via the SP Flash Tool. [READ: How to Install TWRP on MediaTek using SP Flash Tool].
Root MediaTek Devices
Likewise, you could root your MediaTek device by flashing the Magisk patched boot.img via SP Flash Tool. [READ: How to Root any MediaTek Device Using SP Flash Tool].
Support Various Chipsets
This tool supports various MTK chipsets, including MT62xx, MT65xx, MT67xx, and MT68xx.
Format Memory
You could also format NAND, EMMC, or SDMMC flash memory of your device.
How to Download and Install SP Flash Tool | Flash Firmware Guide
The below instructions are listed under separate sections for ease of understanding. Make sure to follow in the exact same sequence as mentioned. Droidwin and its members wouldn’t be held responsible in case of a thermonuclear war, your alarm doesn’t wake you up, or if anything happens to your device and data by performing the below steps.
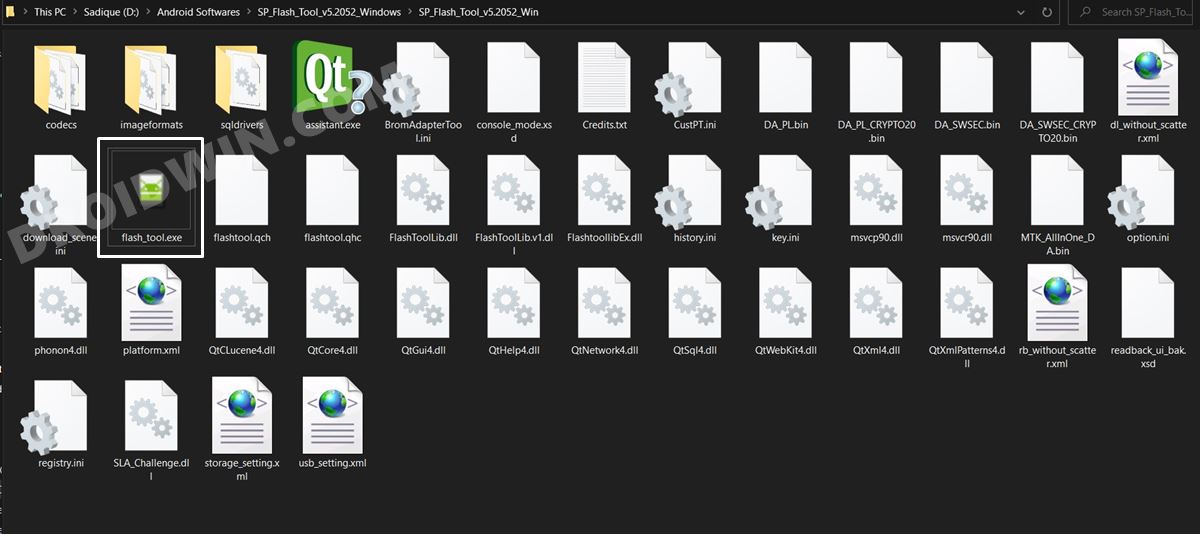
STEP 1: Download SP Flash Tool
STEP 2: Download MediaTek Firmware
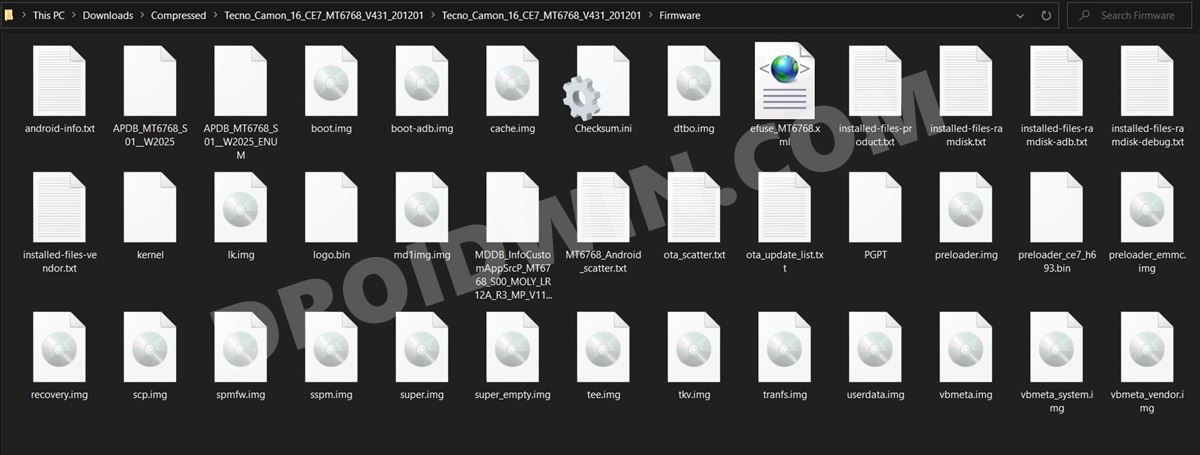
Next up, download the MediaTek firmware for your device. There isn’t any official site as such from where you could download this firmware. However, a Google search will be enough to bring up plenty of sites having the MTK firmware. So go ahead, download it and then extract it to any location on your PC
STEP 3: Install MediaTek USB Drivers
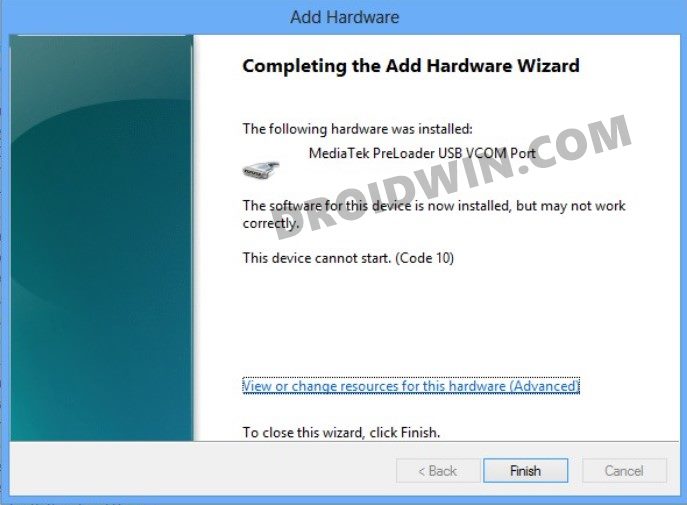
You will also have to download and install the MediaTek USB VCOM Drivers. This is needed so that your PC is able to identify the connected device.
STEP 4: Connect MTK device to PC
There are two different methods through which you could connect your device to the PC. The first method is for those devices that have a removable battery whereas the second one is for non-removable battery smartphones. Proceed with the one that meets your requirements.
Power off your device and remove the battery. Then keep your device in this state for around 20 seconds. After that, reinsert the battery (but keep it turned off) and connect your device to the PC via USB cable.Power off your device. Then press and hold the Volume Down key (or Volume Up on some devices) and connect your device to the PC via USB cable.
STEP 5: Flash MediaTek Stock Firmware via SP Flash Tool
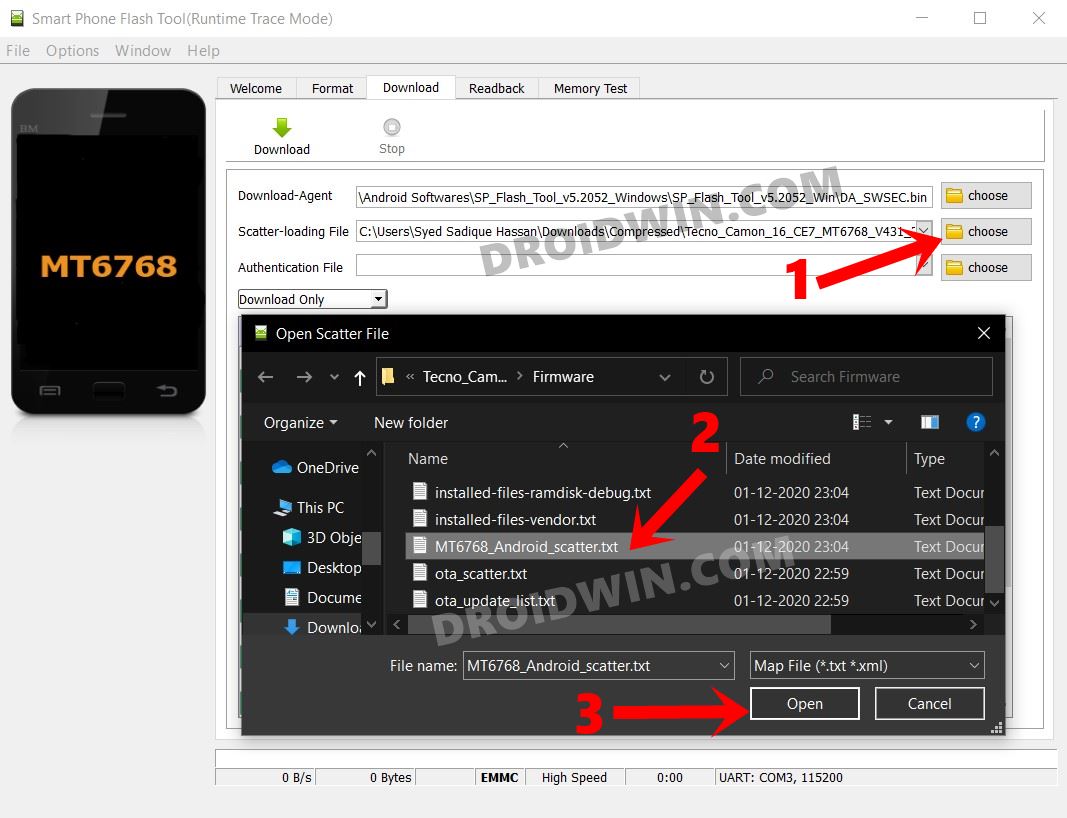
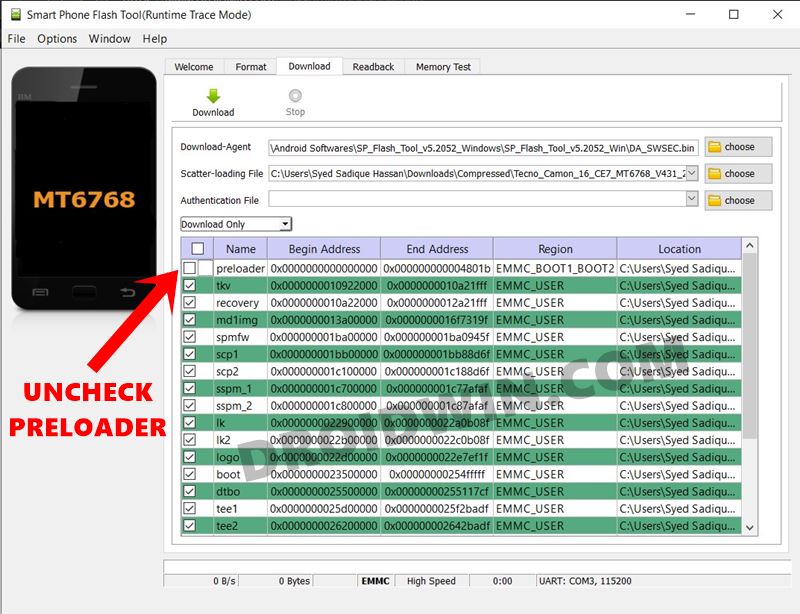
That’s it. These were the steps to download, install and flash firmware using SP Flash Tool. If your device isn’t being detected by the tool, then there’s an alternate way out. First off, set up the entire tool by loading the scatter file and hitting the Download button. After that, connect your device using the method mentioned in STEP 4. The device should now be identified by the tool and the flashing process will now start. Apart from that, if you have any other queries, do let us know in the comments section below.
About Chief Editor
