The below instructions are listed under separate sections for ease of understanding. Make sure to follow in the exact same sequence as mentioned.
STEP 1: Install Windows Subsystem for Android
To begin with, you will have to install Windows Subsystem for Android onto your Windows PC. If your PC supports it, then just you could directly install it from the Microsoft Store.
However, if it isn’t available in the Store, then your PC isn’t able to checkmark all the prerequisites. In that case, you would have to install the Subsystem using a workaround. So please refer to our guide on How to Install Windows Subsystem for Android on an Unsupported PC.
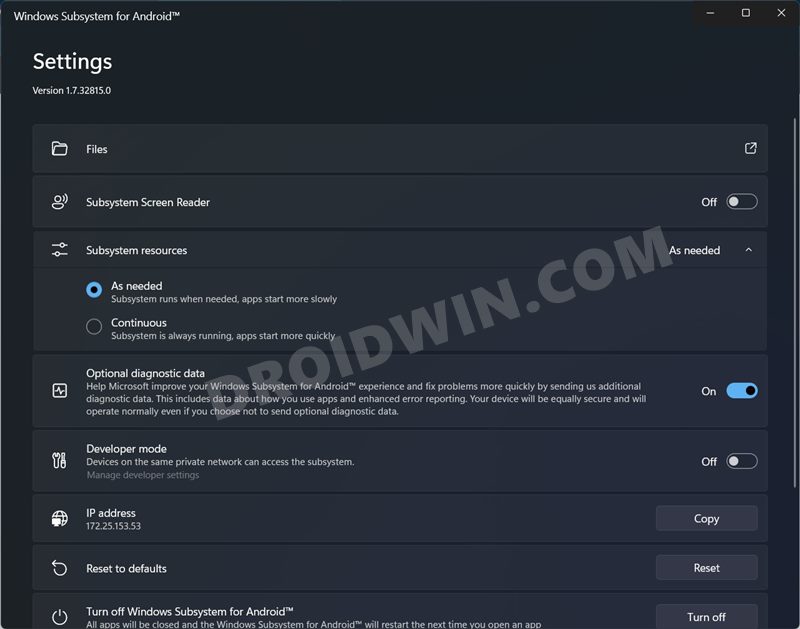
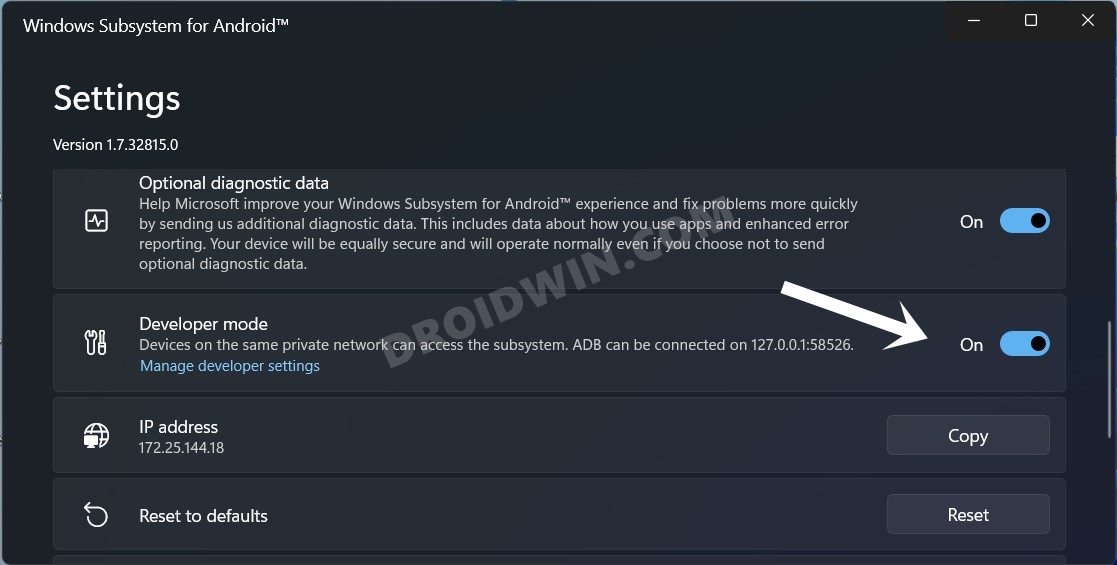
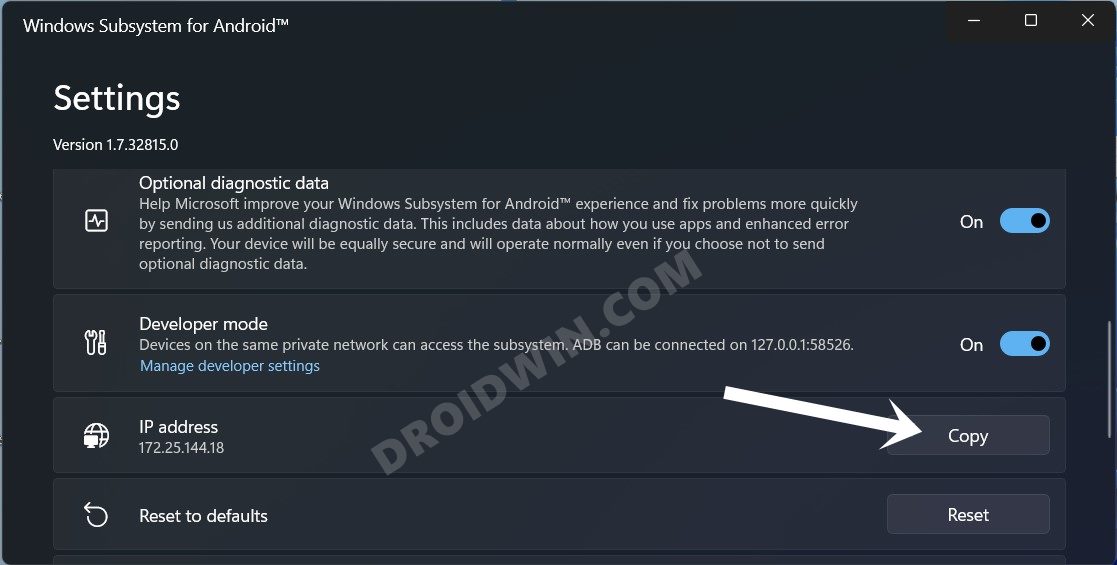
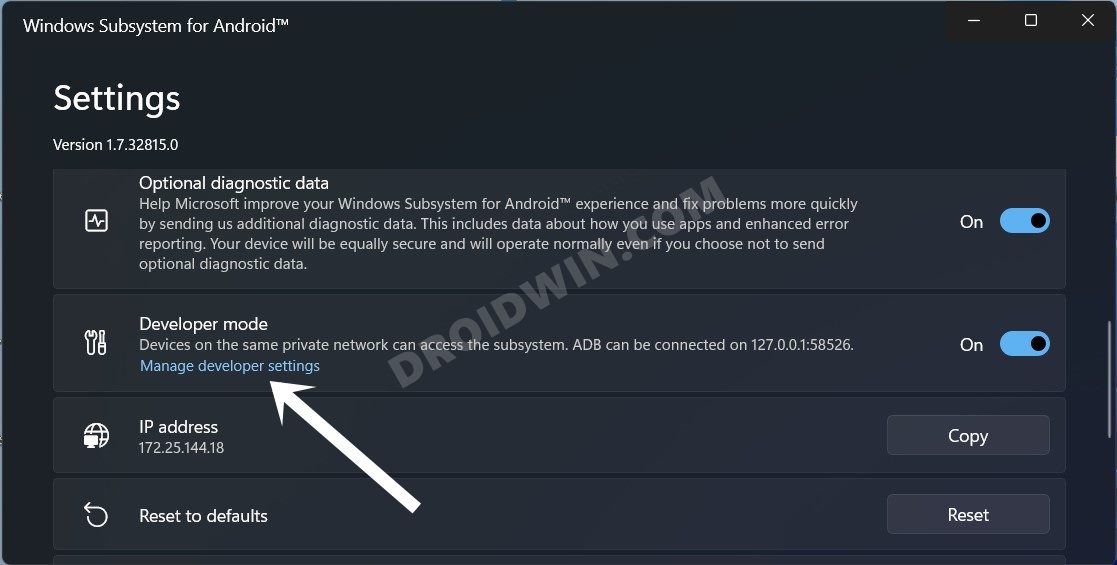
STEP 2: Find IP Address of Windows Subsystem for Android
STEP 3: Download Android SDK Platform Tools
Next up, download and install the Android SDK Platform Tools on your PC. This is the official ADB and Fastboot binary provided by Google and is the only recommended one. So download it and then extract it to any convenient location on your PC. Doing so will give you the platform-tools folder, which will be used throughout this guide.
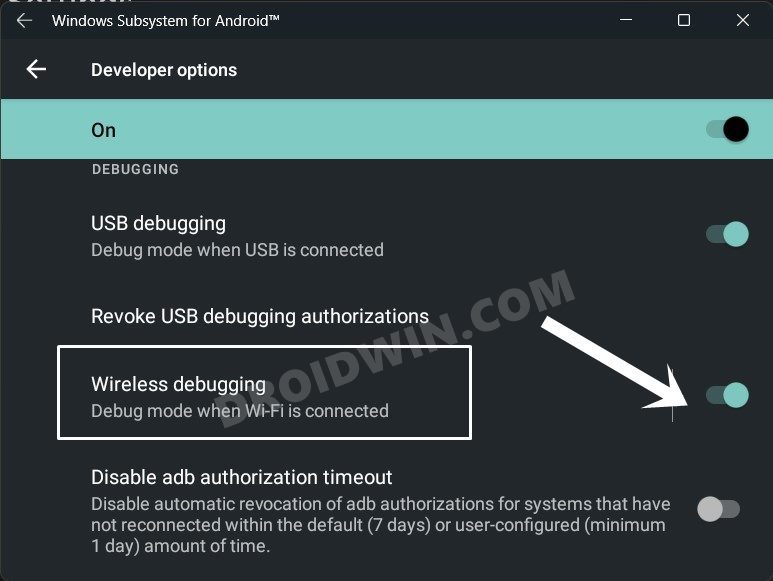
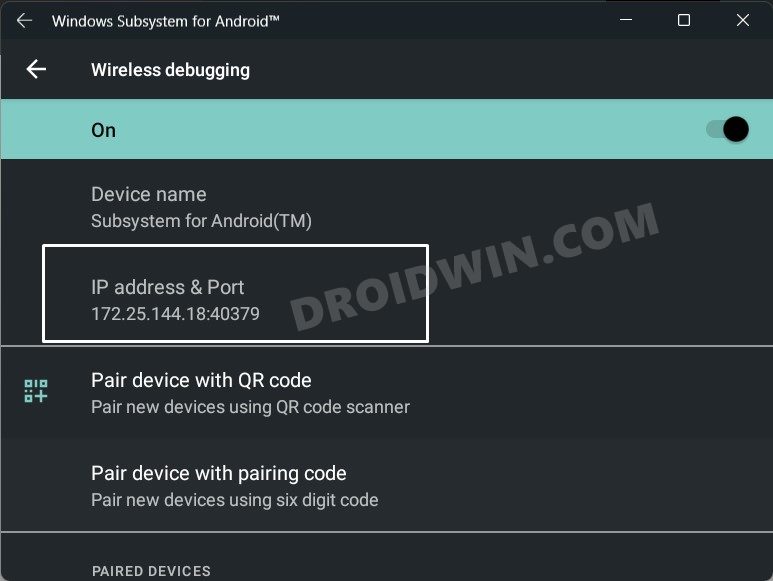
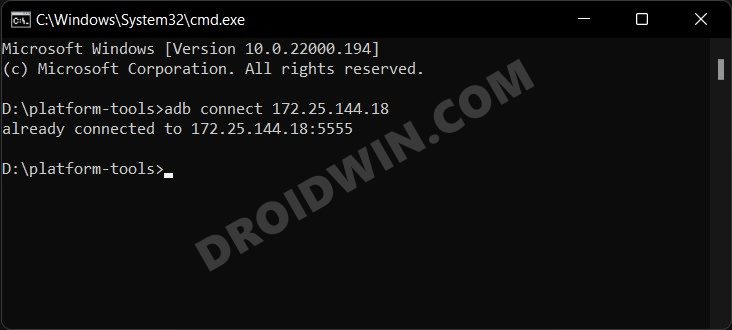
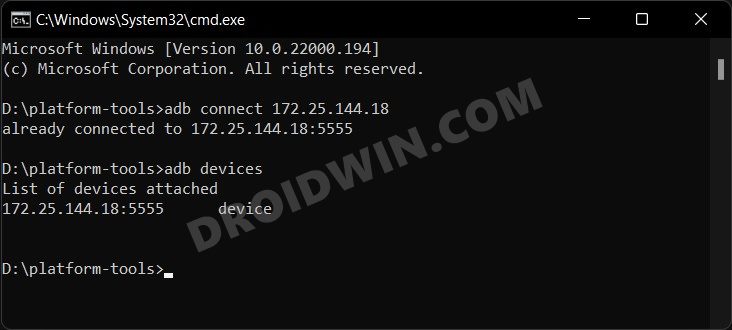
STEP 4: Connect Windows Subsystem for Android via Wireless Debugging
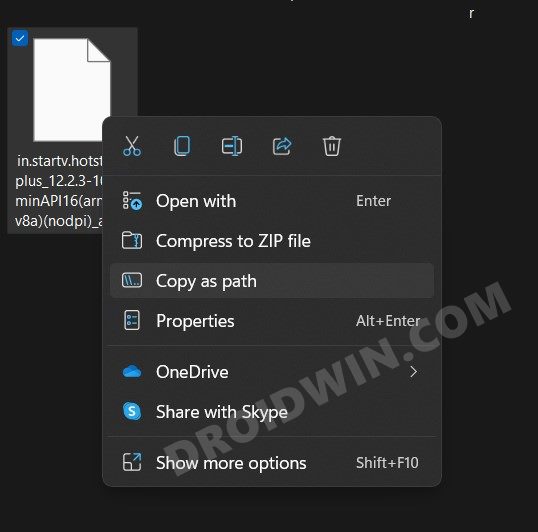
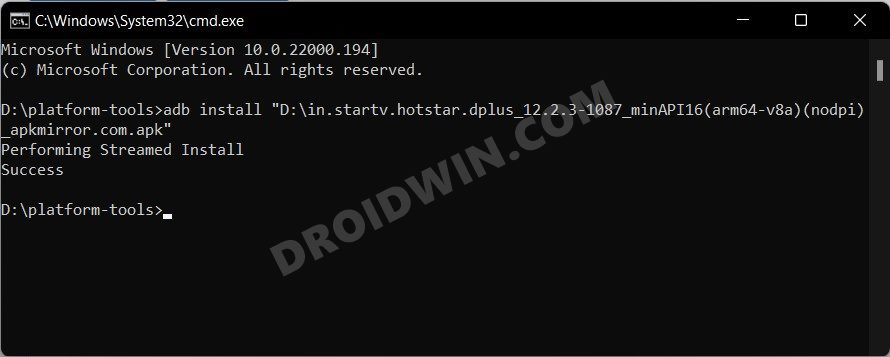
STEP 5: Install Android Apps on Windows 11 via Sideload
How to Install and Run Android Apps on Windows 11How to Execute Android ADB Fastboot Commands Wirelessly
About Chief Editor
